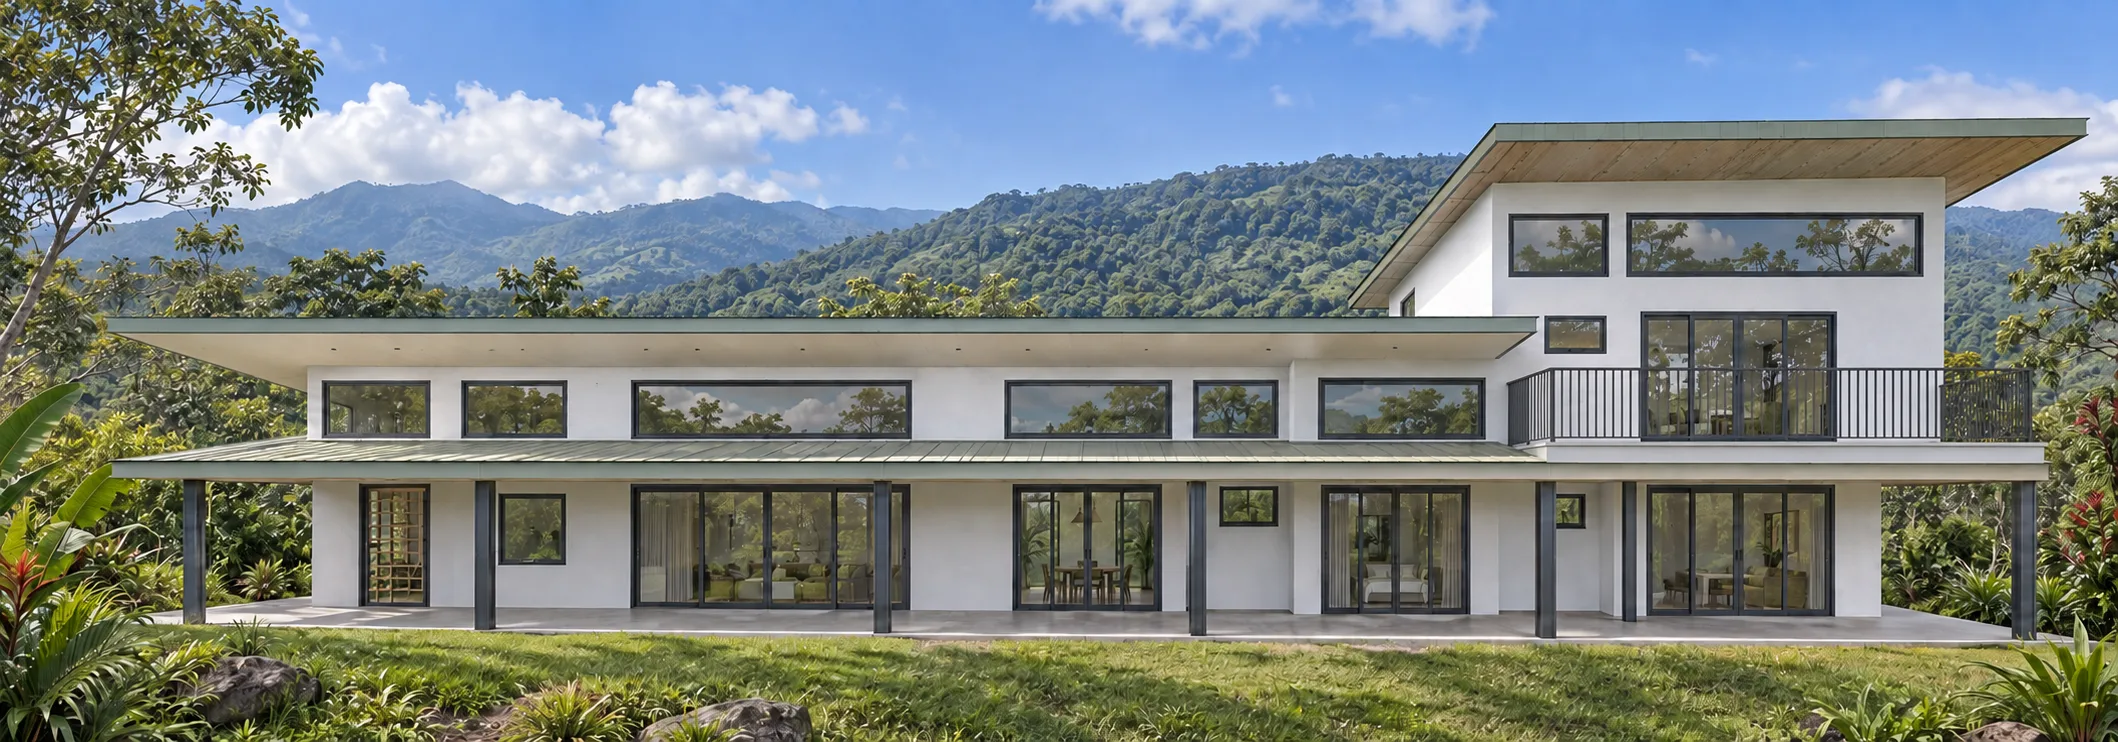
Begin with what will not be painted
List the roof, stone, brick, windows, paving, gutters, and other permanent finishes that will remain. These materials narrow the useful color range and give the new paint a visual context. Look for their shared temperature and undertones instead of trying to match one tiny fleck exactly.
Next, consider the house itself. A simple elevation can support a restrained palette, while deep porches, multiple rooflines, or decorative trim may justify more separation. Decide which features should stand out and which should recede before opening a color deck.
Build complete schemes, not isolated favorites
Choose a main wall direction first, then add trim, doors, and accents as a complete set. Compare several sets on the full house. A color that looks appealing alone may fail when it occupies most of the elevation or sits beside a warm roof and cool window frames.
- Keep the first round broad: light, mid-tone, dark, warm, and cool directions.
- Remove schemes that conflict with fixed materials before refining shades.
- Use contrast to support the architecture, not to outline every available edge.
Move from visualization to real paint
A visualization is best for composition and comparison. Once two or three schemes remain, test real paint on large movable boards or representative wall areas. Place wall and trim samples together and view them in sun, shade, morning, and late afternoon.
Make the final decision from the property rather than the screen. Record the manufacturer, product line, finish, color name, and code so the chosen scheme stays clear for everyone purchasing or applying the paint.